Discover how smile AI and dental smile simulation software boost case acceptance. Learn how SmileViz works for patient consultation visualization.
Last Updated: September 19, 2026
Smile AI generates a realistic preview of a patient's post-treatment smile from a single photograph, letting dentists show outcomes before treatment begins. At SmileViz, our platform is built around one chairside reality: patients who can see the result say yes more often than patients who only hear a description. This guide covers how the technology works, how to run it in a real appointment, where it fails, and how to talk to patients about what they are looking at.
Dental smile simulation software combines facial recognition, image processing, and generative AI to modify a photograph of a patient's smile while leaving everything else untouched.
The pipeline runs in four stages:
Identity preservation means the simulation changes the smile without changing the person, the single hardest technical problem in the category. The model anchors on features it must not touch: eye spacing, nose shape, jaw contour, skin texture, and existing facial asymmetry, working within the patient's actual anatomy rather than pasting a generic smile onto their face.
Natural-looking output depends on three variables: lighting consistency, teeth alignment, and smile intensity. Get any one wrong and the preview looks like a filter rather than a forecast.
Patient consultation visualization means walking a patient through a simulated result during the appointment itself, not sending them home to "think about it." The workflow below takes about five minutes once you have done it a few times.
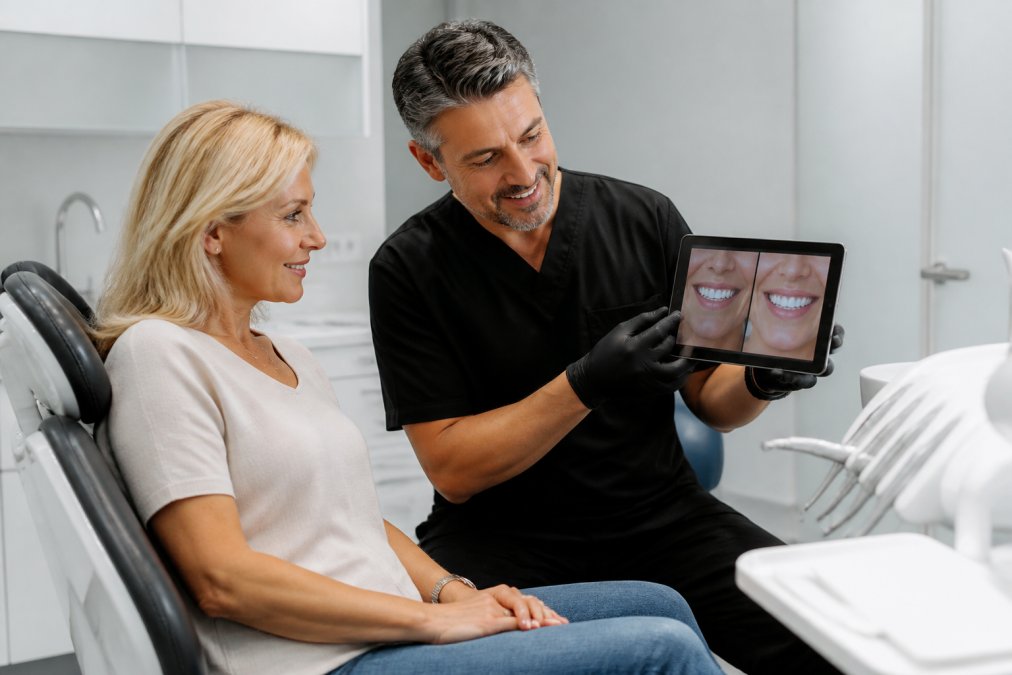
What you'll need:
Expected result: The patient sees a realistic preview of their own face with the proposed change, and you have a shared reference point for the rest of the conversation.
Most write-ups treat mobile and desktop as interchangeable. They are not, and the difference shows up the moment you are standing next to a reclined patient.
| Factor | Mobile app (iOS/Android) | Browser-based tool |
|---|---|---|
| Capture | Uses the device camera directly, so you can shoot and render in one motion | Requires a separate camera or phone, then a file transfer |
| Screen size | 10-13 inch tablet is the practical sweet spot; phone screens are too small to review with a patient | 13-27 inch monitor gives the patient a clearer view of tooth detail |
| File handling | Handles HEIC and JPEG natively; most apps auto-downscale to save upload time | Accepts JPEG, PNG, and often TIFF or RAW; better for images coming off a DSLR or intraoral camera |
| Offline use | Some apps cache the last render and let you re-open it without a connection | Almost always requires an active connection to render |
| Sharing | One-tap share to the patient via text or email, or export to the chart | Export to PDF or image, then attach manually to the practice management system |
| Best fit | Chairside capture and same-visit review | Treatment-planning sessions, lab communication, and marketing assets |
Small technical choices at capture time decide whether the render is usable. Standardize these settings across your team:
Speed matters because the patient is sitting in the chair, not browsing a website. A workable rhythm:
Increasing dental case acceptance rates comes down to reducing uncertainty. Patients do not decline cosmetic treatment because they dislike the idea; they decline because they cannot picture the outcome and do not want to spend money on a guess.
Smile styles fall into three practical categories, and matching the style to the patient's goal matters more than the technology itself.
| Style | What changes | Best for | Watch out for |
|---|---|---|---|
| Subtle | Minor shape and shade refinement | Bonding, single-tooth work, whitening | Patients may not see enough difference to commit |
| Natural | Balanced alignment and proportion | Veneers on front teeth, alignment cases | Requires accurate midline matching |
| Beaming | Fuller tooth display, brighter shade | Full smile makeovers, multiple units | Can read as artificial if intensity is pushed too far |
Most guides treat "subtle" and "beaming" as a slider position. They are not. Each style engages a different set of facial muscles, exposes a different amount of tooth and gum, and forces the render engine to solve a different lighting problem.
A practical rule set that holds up in most consultations:
Showing a single render asks the patient to accept or reject. Showing two asks them to choose, and choice changes the psychology of the conversation. Render the natural version first, then the beaming version, and ask which one feels more like them. Patients who pick their own target are more committed to the plan, and the choice surfaces preferences, how much tooth they want to show, how bright they want the shade, that are hard to extract from a verbal conversation.
Artifacts are rendering errors that make the simulation look wrong, and most trace back to the input photo rather than the model. Knowing the common ones saves you from showing a patient a preview that undermines your credibility.
Disclosure is not optional, and it protects the practice as much as the patient. A simulation is a forecast, not a guarantee, and patients need to hear that in plain language before treatment starts.
Smile AI refers to software that uses facial recognition and generative AI to show patients a preview of their smile after cosmetic treatment. Instead of describing veneers or whitening in words, the dentist displays a rendered image on screen during the consultation. SmileViz is built for this exact chairside use, producing a simulation in seconds so the conversation stays focused on the patient's goals.
Accuracy depends on image quality, lighting consistency, and how well the simulation is framed for the patient. SmileViz uses identity preservation so the preview keeps the patient's actual facial anatomy rather than swapping in a generic smile. Dentists should still present simulations as a visual guide for treatment planning, not a guaranteed outcome, and set expectations clearly before treatment begins.
Patients hesitate when they cannot picture the result. A rendered preview turns an abstract explanation into something concrete they can react to in the chair. For practices focused on increasing dental case acceptance rates, that visual proof shortens the gap between interest and commitment. SmileViz is designed so the simulation happens during the consultation, while the patient is still deciding, rather than days later.
Most practices add smile simulation to the cosmetic consultation itself. The patient sits down, the dentist captures a photo, and the software renders a preview on screen within the same visit. SmileViz runs in a browser, so there is no heavy installation, and the learning curve is short enough for chairside use. Practices with multiple locations can standardize the same consultation flow across every office.
Show patients their future smile in about 90 seconds and close more cosmetic cases chairside.
Book a free demo
AI smile previews that help patients say yes, before, during, and after the consult.